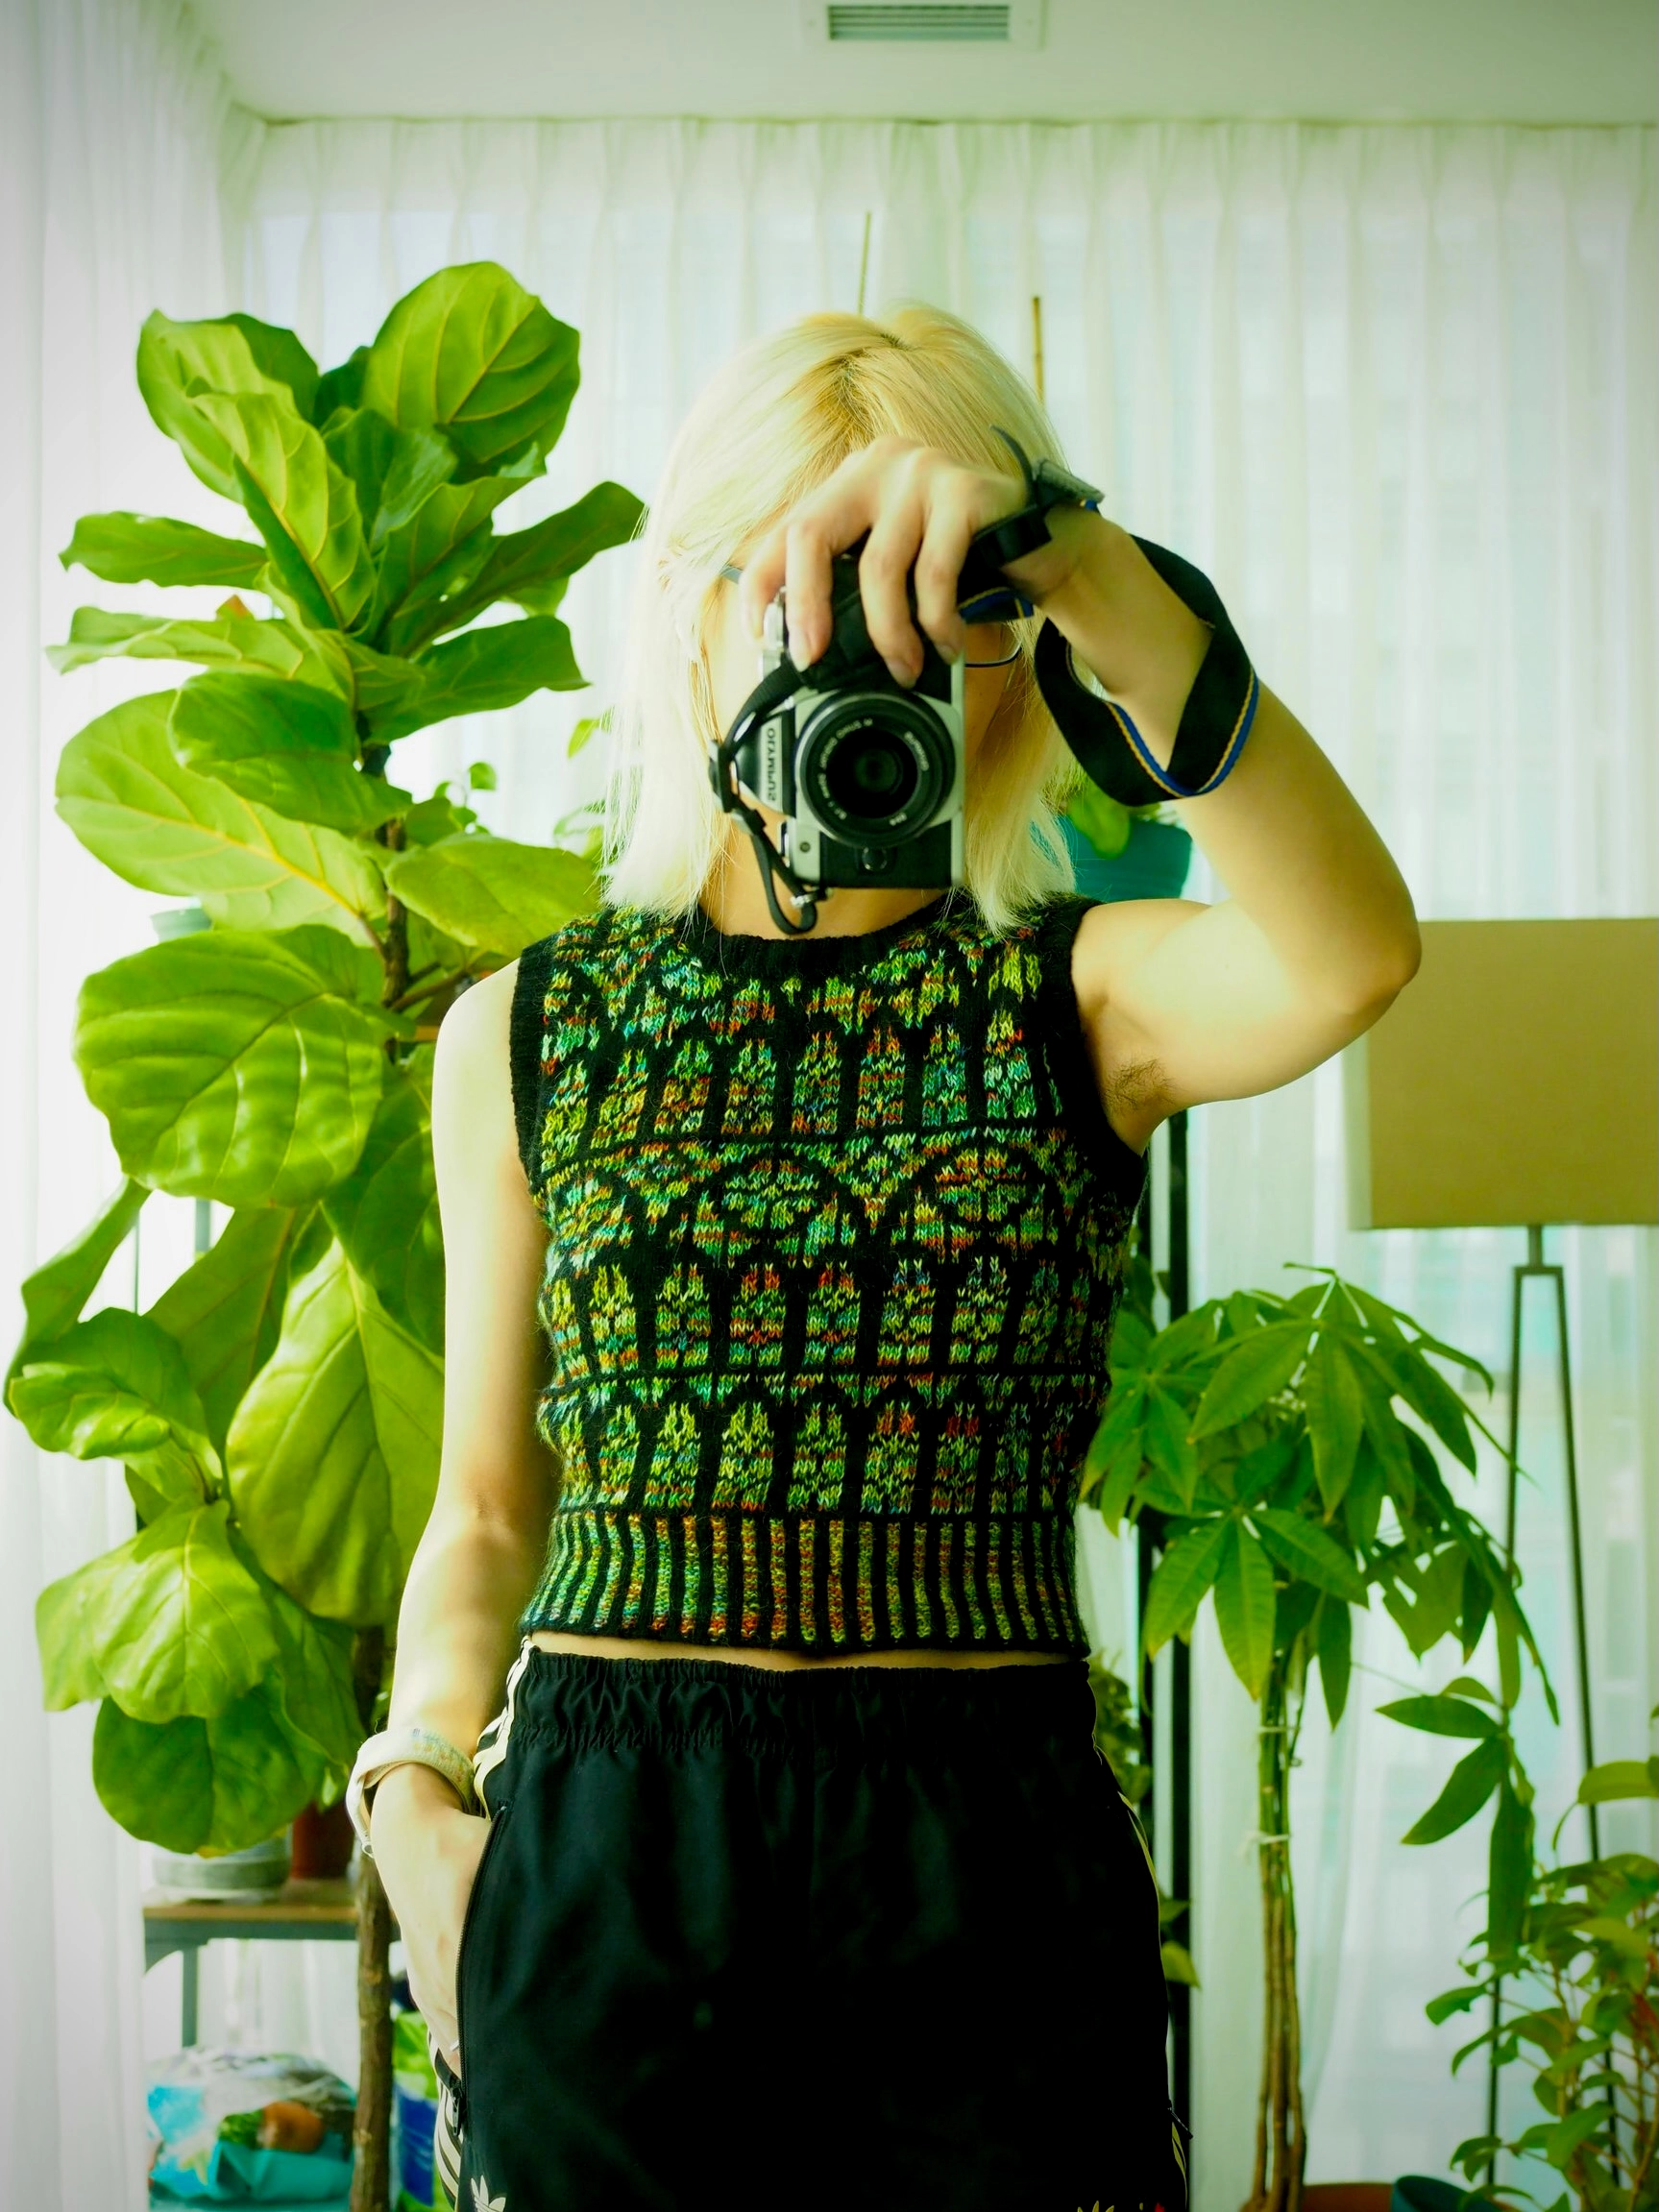
Tracery Vest - Stained Glass Ver.
April 19, 2026
Project recap

- Ravelry: PurringYarn’s Tracery
- Time spent: 72.5 hours
- Yarn:
- MC: Loveyarn 回归线 悸动 (墨黑 black)
- CC: Ancient Arts Fibre Crafts Revival (A Summer in Monaco - Monet)
- Needle: US 2/2.75mm (main), US 1/2.25mm (ribbing)
- Gauge: 30 sts = 4"
- Duration: -
- Pattern: Tracery by Kathleen Sperling
- Size: 30 3/4"
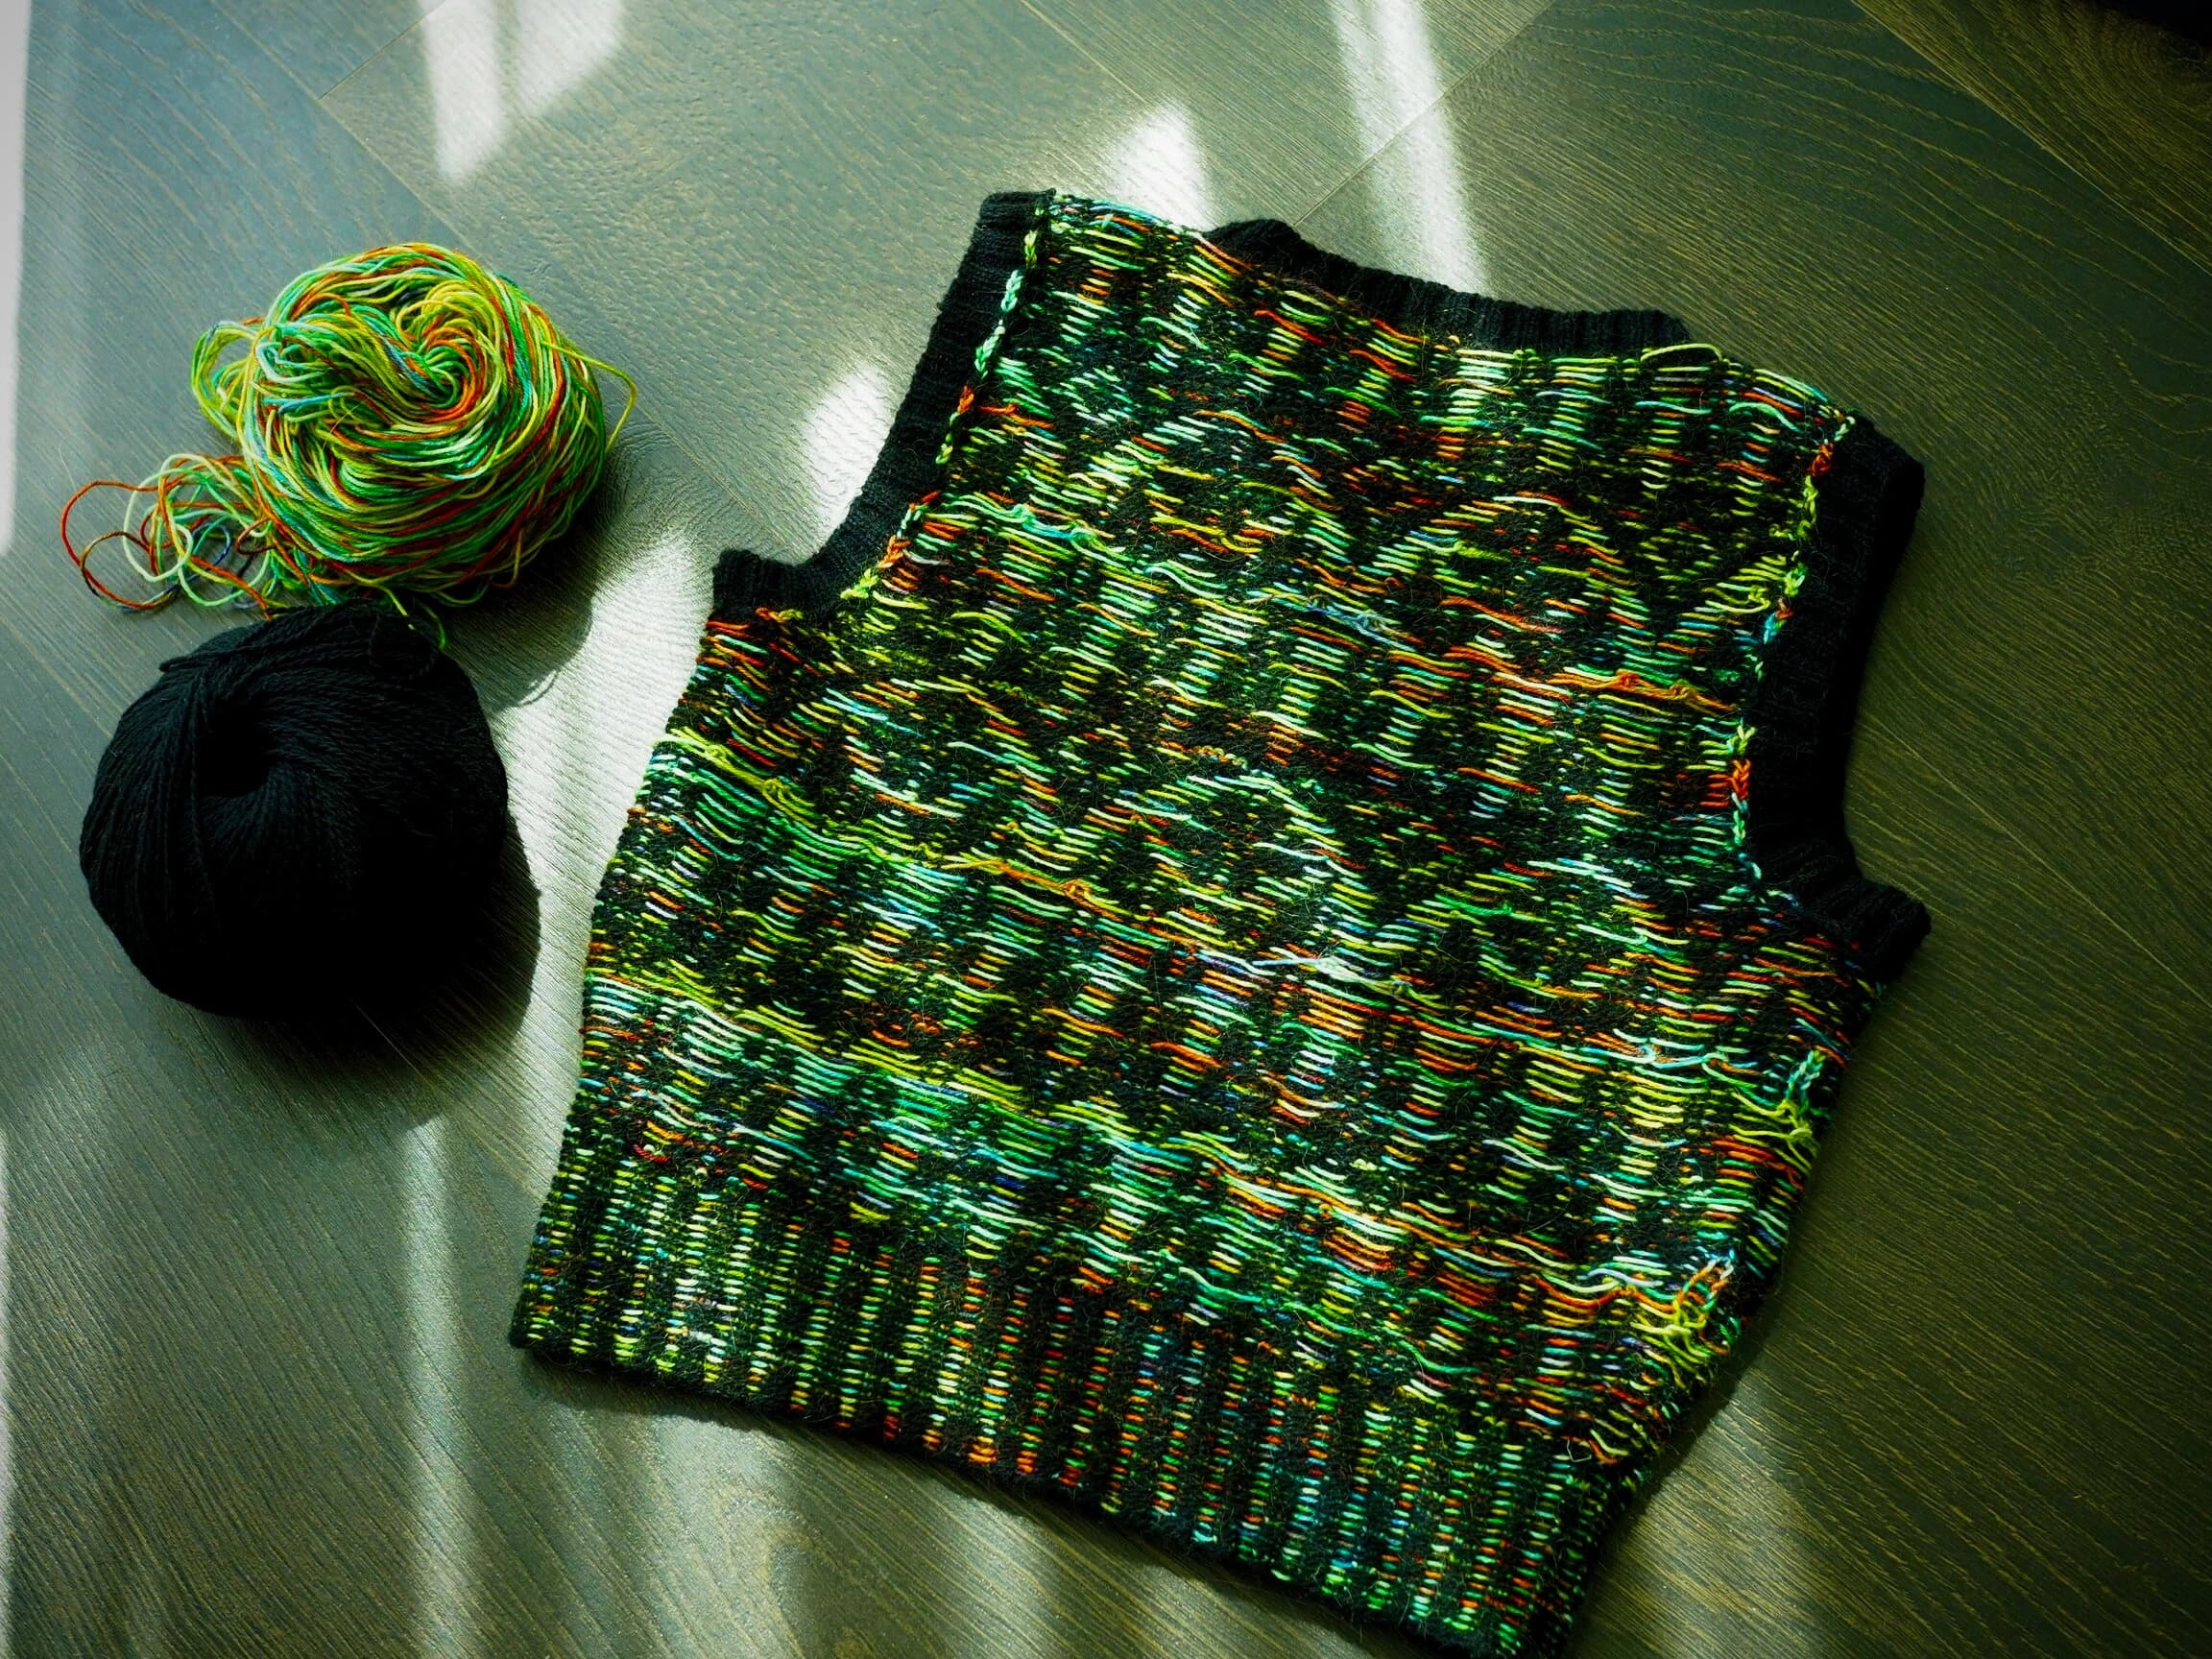
Yarn: the star
I bought the yarn in Knit City Toronto from Ancient Arts Fibre specifically for this project.
From the very beginning I knew the yarn will be the star so I need to choose carefully. Ideally I wanted a variegated yarn has three colours in it: yellow, red and blue, just like the classic stained glass, and they need to be in the right value and chroma. However I found those are incredibly difficult to find - most variegated yarn are not intense enough to give the stained glass vibe, and it’s rare to find these colours at the same time without overwhelming leaning to one of them.
I fell in love in this colourway when I saw it online. The name is “Summer in Monaco - Monet” and I have to agree that the colour accurately reflected the oil painting. Two questions remains: for one the main hue is green-based which I’m unsure, for two I’m worried the photos are not accurate. I have to see them with my own eyes. That’s why I did not buy it until Knit City Toronto, and during the event, I asked the staff to untwist the hanks so that I can choose the one that suits my needs. One of them is more saturated and the other has more red but overall more pale, so I chose the former.
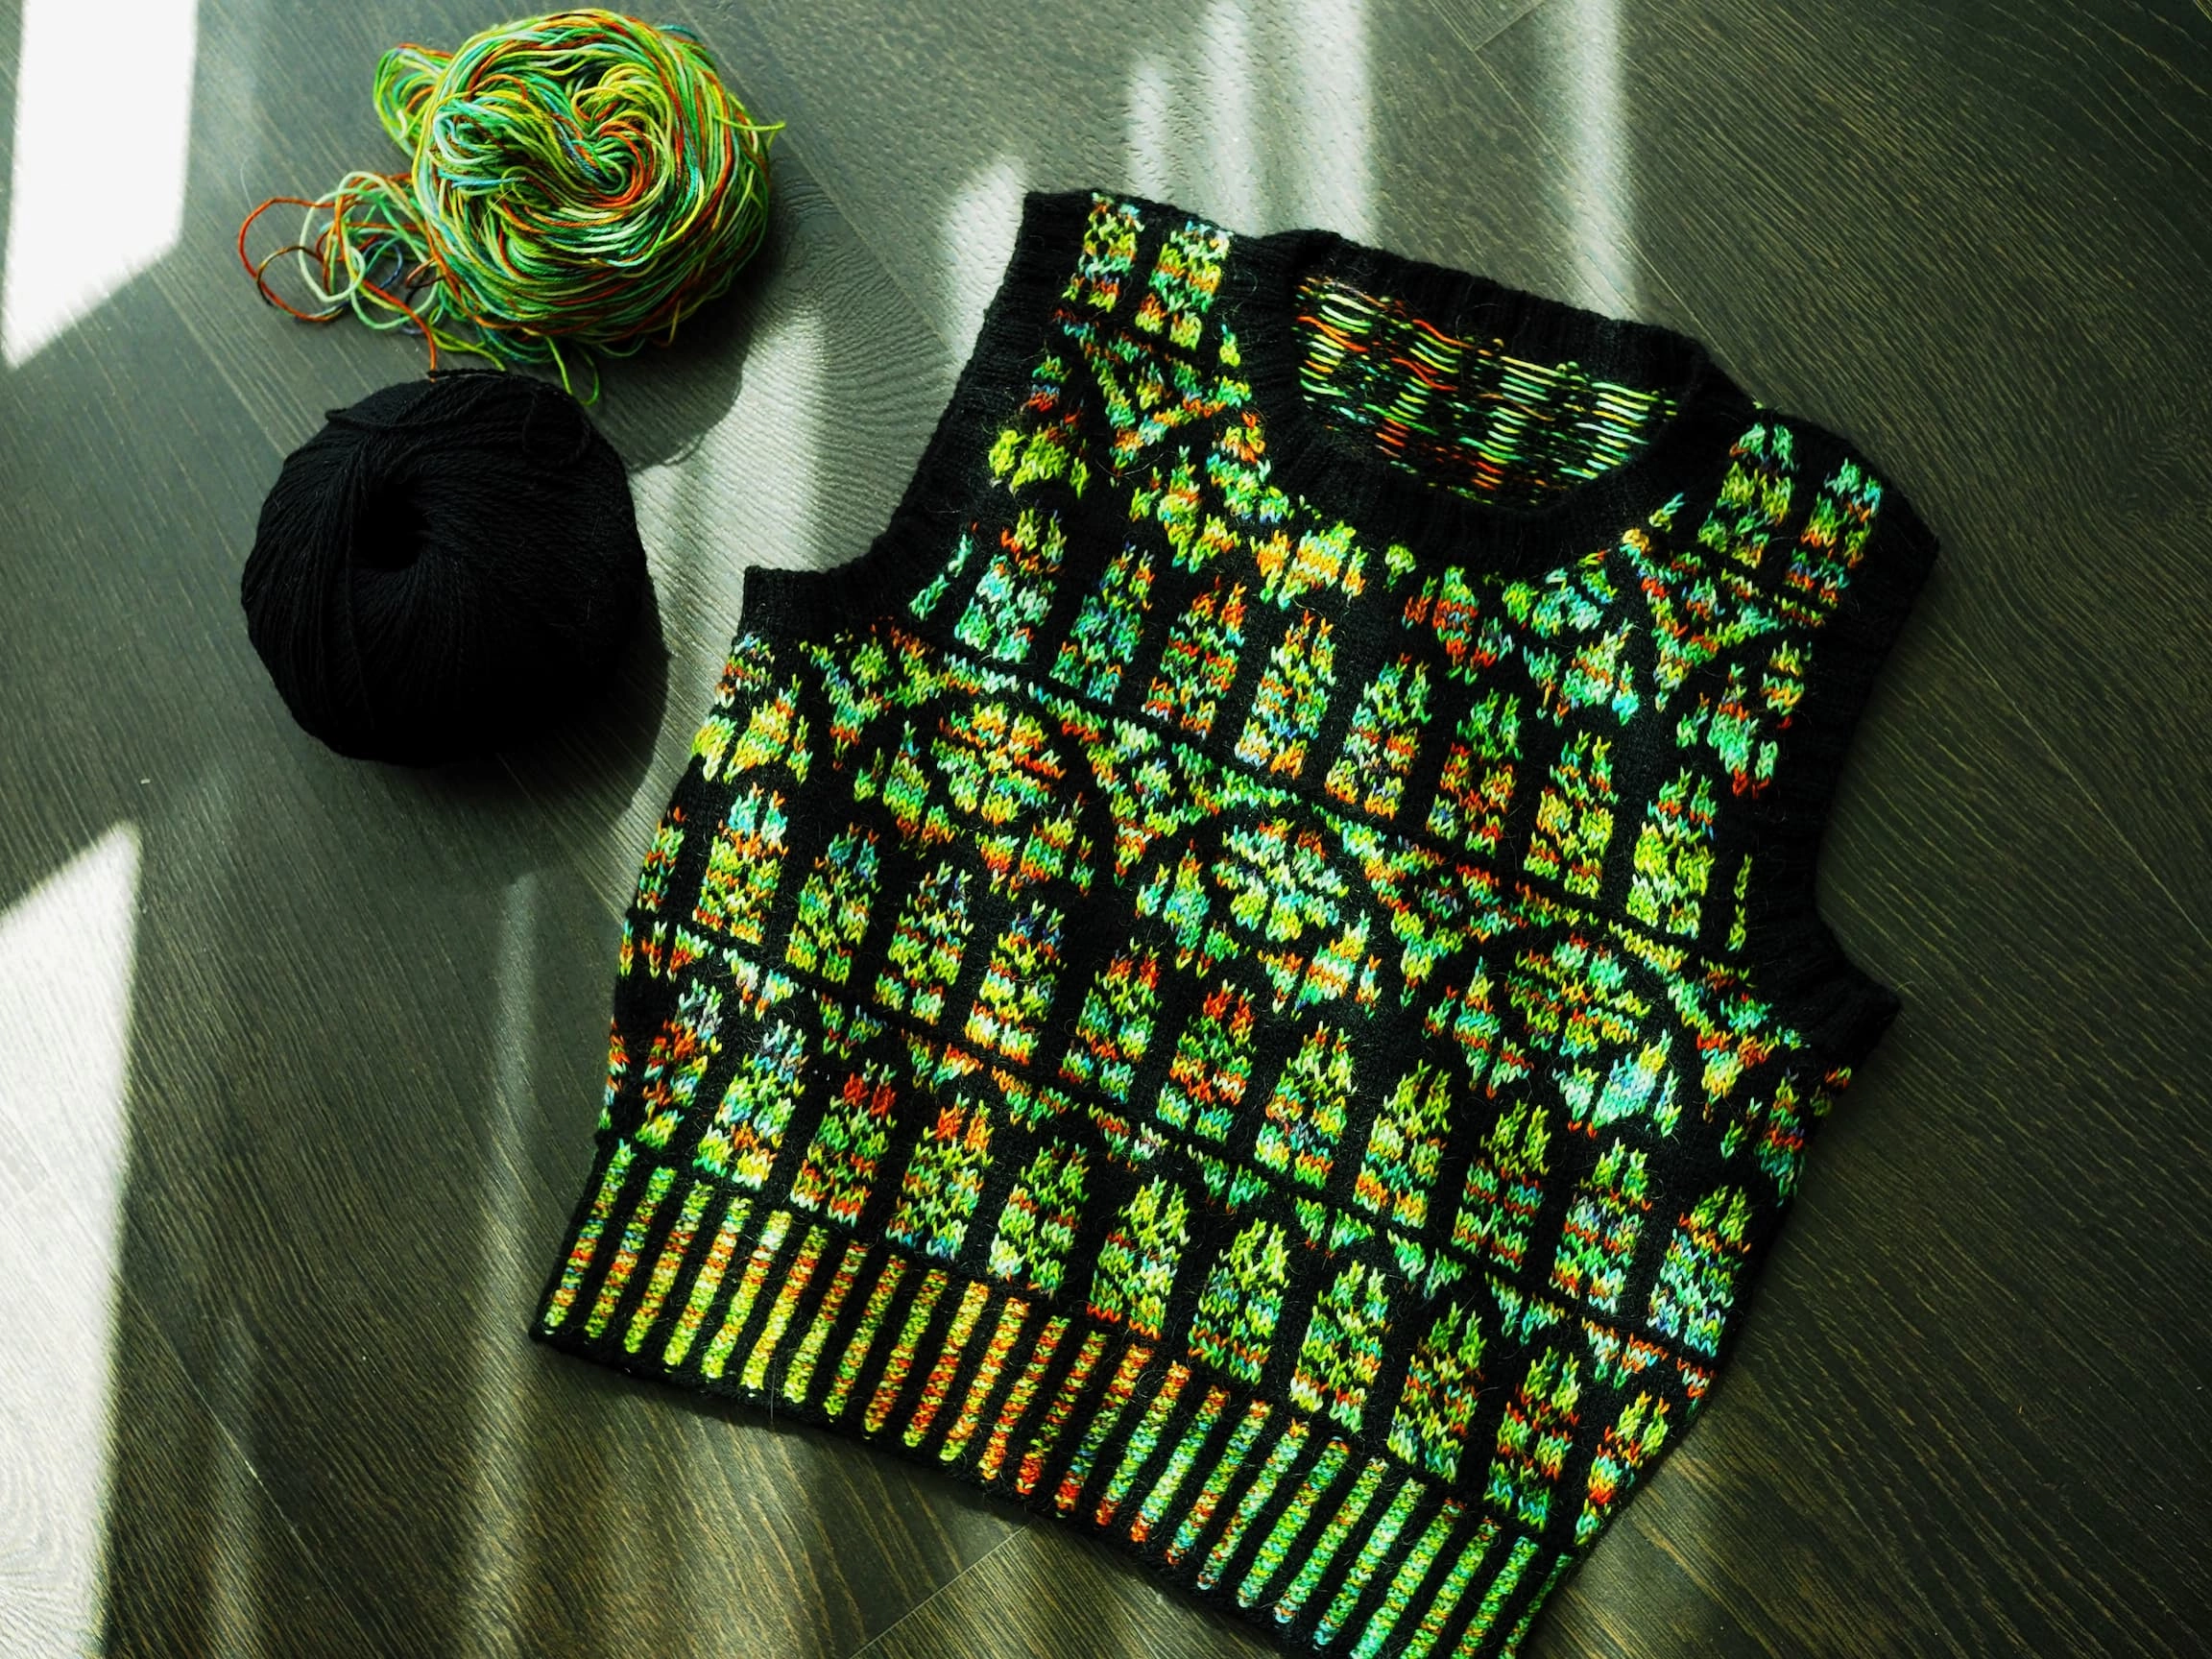
During swatching I was amazed with this beauty. It was such a great match!! Usually I didn’t take lots of photos during the project because I’m too busy at knitting, but this time I couldn’t forget - they are too beautiful to not to be shoot! And the final result? It is a work of art! Even as a perfectionist I couldn’t complain, the yarn, the colourwork tension and the modifications, all perfect. I couldn’t be happier.
Modifications
Main body
- Knit corrugated ribbing as per the pattern for 2.25". I alternate the CC skein with both ends to minimize the colour pooling effect which is noticeable from the first few rows.
- Knit 1-22 rows of the chart, with a modified version without extra black for upper window, AKA from 9th-18th sts in the centre repeat
- Knit 1 row and purl 1 row in MC
- Knit as per the pattern from row 1, until finishing row 34
- From row 35, start armhole decrease as per the pattern. The 2 sts dec rows are row 39-41-43-45 (4 times). The total is 87 sts after armhole decrease. Continue until finishing row 70
Crew neck shaping
I found V neck vest is hard to style for me so decided to modify it to crew neck instead. I did some research and decided to use my measurement from Twist Loop Top and a steady ratio to make the end stitch matches the pattern. Here is how I’ve done it.
Starting row 71, decrease 1 st in every RS row by the following:
- Divide the total 87 stitch to three section: 31 sts (front left), 25 sts (centre), 31 sts (front right) and do not work the centre and front right section
- Front left: Knit as per the chart until 3 sts remaining in the front left section, k2tog, k1. Turn the work and continue the following WS row. Repeat this for a total of 15 times. After row 84, start over from row 1 and the last row should be row 16 (WS). Now I have 16 sts which matches the pattern and the armhole depth and neck depth has also reached to the desired length.
- Centre section: bind off the centre stitches. I initially put them on hold to make picking up easier but it didn’t work well.
- Front right: similar as Front left, but do k1, ssk for the decrease at the beginning of row instead
Design thoughts and crew neck shaping formula
- Target neck depth length: 3.5". This is my favourite neck depth length without feeling neck being rubbed
- Target collar width: at least 13cm allowance to let head pass through. Note that the ribbing length needs to be considered as well.
- Neck decrease stitches and ratio:
- When dividing the front shaping of crew neck, the centre stitch ratio is 28.6% of the total front stitch, and the remaining is divided by 2 on each side.
- Decrease ratio: simply decrease 1 st in every RS row. This makes a classic crew neck look
- Target armhole length: 13cm
Picking up armhole and collar ribbing
- Armhole: Pick up 10 sts from the bind-off rows, then 4 out of every 5 sts for total 52 sts before 3NBO. Then 2 sts from 3NBO, and 4 out of every 5 sts (52 sts), then finally 16 sts for the remaining, total 132 sts for 2x2 armhole ribbing
- Collar: pick up 26 sts from the front right edge, 55 sts from the back, then 26 sts from front left edge, and 25 sts from centre stitches, total 132 sts
- For ribbing, I did 3/4 inch of 2x2 ribbing in MC, then Italian 2x2 bind-off.
Colourwork: catching floats, ladder back jacquard and colourwork in flat
Throughout the colourwork chart, I did not catch floats at all when the length is no more than 7 sts. When it’s more than 7 sts, I use Ladder Back Jacquard technique when needed. In most scenario these sts are only for one or two rows, so I only need to CO a backwards loop in the current row and then k2tog in the following row.
I saw lots of Raveler mentioned steeking. It was a tempting idea but I eventually decided to try working colourwork in flat. One reason is that everyone who did the steeking are V neck and I couldn’t find a pattern with round neck + steeking for reference. Another reason is that I wanted to try working colourwork in flat at least once. It actually wasn’t too bad to be honest, probably because I don’t hate purling. Knitting colourwork with two handed style certainly helps, I really enjoyed working the chart and almost feel too soon to finish it! Gosh I need more fair isle / colourwork projects for sure. Though I have to admit working in flat is definitely a bit more fiddly and slower than when I was working colourwork in the round, and my row gauge is slightly large too so I’ll try steeking next time.
Project timeline
- - Swatch gauge and planning.
- - Cast on.
- - Divide front and back. Put a lifeline before starting armhole decrease.
- - Finish the front left. Put a lifeline before the crew neckline shaping.
- - Finish the front.
- - Finish the back. All colourwork is done!
- - Finish the armhole and collar. In the water.
- - Block and weave in ends.
Finished measurement
After blocking:
- Bust: 30.2"
- Length: 15.9"
- Neck depth: 3.5"
- Armhole depth: 6"
Lessons and new techniques learned
- I know I hate picking up stitches, but live stitches from provisional cast on doesn’t always work, especially when some of them are live stitches and some of them are picked up stitches, like this collar. I have to think about the impact to the structure and length.
- My colourwork technique and tension has increased so much in this project. By stretching the working yarn straight before working the next colour I was able to maintain a quite consistent result while keeping the speed. I’m so proud of my work - look at those beautiful floats!